Created: 5/14/2022; Last Updated 9/14/2022
DIY Kubernetes from Hardware to IaC
All of my websites (including this one) run on a Kubernetes cluster in my home. This is a detailed guide for how you can mimic my setup, which is introduced by the journey that lead me to my setup. If you share my motivations, I hope that this guide will help you skip some of the pain I experienced while setting up my Kubernetes cluster. I am by no means a Kubernetes expert, but that also means that this guide is simple, straightforward, and pragmatic.
Check out jdevries3133/homelab_cluster repository on GitHub, which is referenced throughout this guide.
Background and Rationale
As a hobbyist & curious person, brutal efficiency and global horizontal scaling weren't my #1 goals through this learning process!
What are my motivations?
I like making websites and web apps. I like helping out family and friends, and providing free services to communities I care about. I'd like to have the potential to spin off my own SaaS solutions, or for my apps to scale to many, many users. However, my websites currently have very low traffic.
At the beginning of my Kubernetes journey, I felt dissatisfied with cloud providers like AWS and GCP, and also Platform as a Service (Paas) providers like Heroku for a variety of reasons:
- runaway cost
- lack of control (especially for PaaS)
- reduced application portability, aka vendor lock-in
- annoying web UIs and unnecessary complexity for my use case
- not 100% open source, no ownership over the tech stack
I feel even more validated by Heroku recently removing its free tier.
Throughout the learning journey of creating my own cluster, I've been surprised at how much you can build out the benefits of these platforms for yourself just by working with open source tools.
What does this give me?
I have a three-node Kubernetes cluster that includes a nice observability stack, some modest protection against single node failure, automated backup and restore for the whole cluster, and a very luxurious experience when it comes time to build and deliver my apps.
What do I leave out?
First and foremost, this guide does not touch Role Based Access Control (RBAC)
at all. This means that app A in my cluster can freely talk to app B, and
that is a major security weakness. However, Kubernetes makes it easy to use
RBAC once you have a cluster up and running as this guide will show you. I just
haven't gone there yet.
"App Developer" versus "Platform Maintainer"
Remember that one of the main objectives of Kubernetes is to separate the platform maintainer from the application developer, and to decouple apps from hardware. This leaves apps highly portable from one cluster to another, although platform maintainers must do the work of keeping the cluster healthy and available, supplying it with enough resources, monitoring it, and keeping internal cluster components updated.
This guide focuses on the platform side of the equation. I also have a post about the development experience, which makes all this work worth it. See My Kubernetes-at-Home Workflow.
Hardware
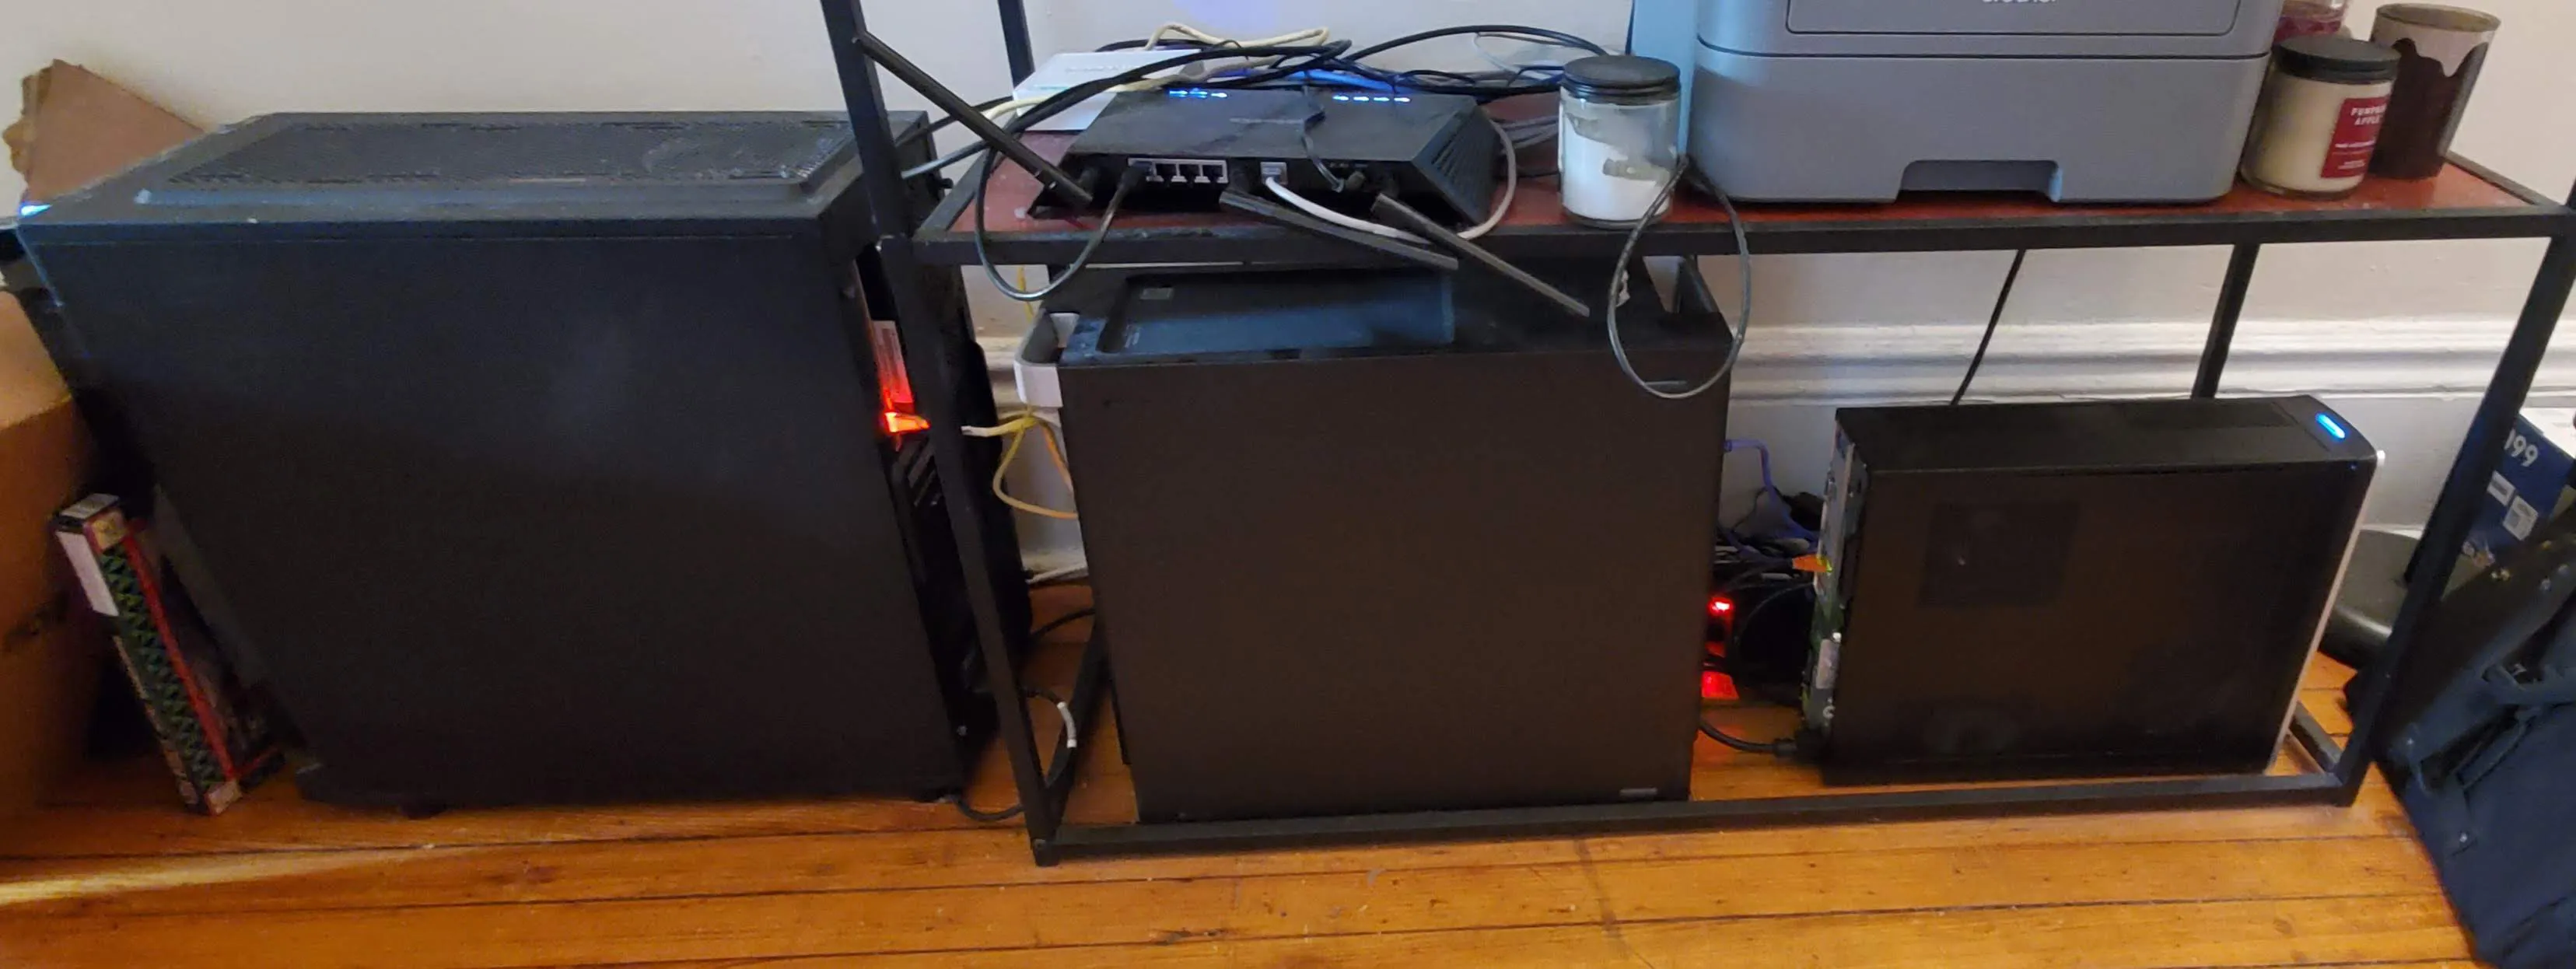 My humble Kubernetes cluster
First of all, you're going to need to start with some hardware. I built my cluster from three old & unused desktops, but the specific hardware doesn't really matter. The only thing I would recommend is to ensure that all of the computers have the same CPU architecture. Containers need to explicitly support multiple platforms. It's not too tricky to ship a docker container that runs on various platforms, but I think it's an unnecessary inconvenience that's best avoided.
Next, try to make sure that all machines have similar amounts of persistent storage. I use Openebs jiva volumes for most stateful workloads (mainly databases). These will replicate volumes across all nodes, so the overall storage capacity of your cluster will be limited by the storage capacity of the smallest node. Similarly, jiva volumes replicate synchronously, so replicated volumes will also be limited by the speed of your slowest drive.
Operating System
Cannonical's microk8s does a huge amount of the legwork for bootstrapping the cluster itself as well as several services that run on top of the cluster. The obvious distro choice is therefore Ubuntu; any recent version will do.
Network
It turns out that the cluster is quite sensitive to network unreliability. On my first attempt at creating my cluster, I found that my replicated storage volumes kept getting locked into a read only state. This happens when replicated volume controllers can't communicate with each other and quorum is lost. So, either get another router to create an entirely separate network for your cluster, or stay away from the restart button on your WiFi router! Cluster nodes really want to be able to speak with each other.
Plus, the high availability guarantees of microk8s require at least 3 nodes, but in practice that means you really need 4 nodes, since you need to be able to let one node die and still have 3 nodes left! I think this might have something to do with my read-only volume woes.
I figured out that logging and monitoring was important, but I believe that it was caused by network unreliability. On my most recent iteration of the cluster, I purchased another router that creates a network for the cluster which is totally separate from my regular home network. This layout is also known as Besides providing a consistent connection between the Kubernetes nodes, a "router on a stick" network can isolate the cluster from the rest of your home network, which is probably for the best if you're going to use your cluster as a public-facing web server.
Cluster Bootstrapping
microk8s does the legwork of bootstrapping the cluster, and I also use several of the plugins that are included with it. See my homelab_cluster repo for details. The tl;dr is:
- Startup the cluster:
microk8s start - Add all your machines by following directions output by:
microk8s add-node ... - Enable plugins
microk8s enable dns helm3 ingress prometheus openebs fluentd
Exposing the Nodes and Cluster
At this point, you can access the cluster from any of the host nodes using internal IP addresses on the local network that those nodes live in. Thus far, you might have been working on these machines by directly connecting to them with peripherals, although I would recommend setting up SSH as soon as you finish installing the OS so that you can do as much as possible from the comfort of your machine. Either way, it's time to expose your nodes to the outside world, which means exposing a few things:
- SSH ports for all of your nodes (optional)
- http & https
- Kubernetes API server
I like all of these things to be exposed on my public IP address so that I can access them from anywhere, although there are security implications to exposing these. You need to be careful with your ssh keys and Kubernetes credentials. Also, you should ensure that it is impossible to SSH into your machines with a password, and that SSH keys are the only acceptable authentication method. Here is a guide which shows you how to do that, including creating and setting up SSH keys.
Port Forwarding
You should setup port forwarding to send public traffic to the cluster. I just direct all traffic to the strongest node, although microk8s ingress controller is setup such that any node can receive traffic, which will then be dispatched in the cluster appropriately. A load balancer which sends traffic out to all nodes and intelligently avoids nodes that have died would be a typical way to strengthen your cluster against single node failure, but I don't do that.
I also like it to be possible for me to SSH into any of the nodes from anywhere. I do this by forwarding an arbitrary public port to port 22 of a certain machine. I can then access each of my machines as follows:
<public IP>:<machine port>
Create forwarding rules for as many machines as you have, and they will all be
accessible on your public IP on different ports. Then you can create a
ssh_config on your local machine so you don't need to remember those details
to connect to any specific machine.
Host node1
    HostName 7.7.77.7
    Port 9000
    IdentityFile /Users/youruser/.ssh/id_rsa

Host node2
    HostName 7.7.77.7
    Port 9001
    IdentityFile /Users/youruser/.ssh/id_rsa

Host node3
    HostName 7.7.77.7
    Port 9002
    IdentityFile /Users/youruser/.ssh/id_rsa
microk8s Self-Signed Certificates
This is an important step if you want the Kubernetes API to be available on a public IP addresses. As shown in this stack overflow answer, you must add your public IP this file:
/var/snap/microk8s/certs/csr.conf.template
After doing this, run:
microk8s refresh-certs
This will restart the entire cluster and regenerate self-signed certificates. If your public IP changes often, I'd recommend running a proxy server on a static IP in a cloud provider, and having microk8s self-sign to use that IP, because it will be painful to do this again when the cluster is up and running.
Connecting via kubectl
At this point, you can get credentials to connect to the cluster with microk8s config. Notice that the server IP address in the config will be a local IP,
but you should be able to change it to your public IP if you setup port
forwarding and self-signed certificates properly in the last two sections. So,
replace the local IP with your public IP, and copy the config to
~/.kube/config on your local machine. At this point, you should be able to
connect to the cluster using kubectl. Give it a try:
kubectl get all --all-namespaces
You should see quite a few pods between the Kubernetes core components and all the plugins you just installed with microk8s.
DNS
Side-note: I found that nodes had to be able to look each other up by hostname.
My network doesn't have a DNS server, but the nodes do each have a static IP in
their local network. Instead of getting overly involved, since I have just
three nodes, I just put the IP addresses directly into /etc/hosts on each of
the three machines so that they can find each other by name.
Cloudflare
Word on the street is that sharing your public IP address with the whole world is not a good idea. Cloudflare DNS is free, and allows you to keep your IP address private, so consider using it as your DNS provider. Of course, other DNS providers also offer a similar service. Plus, enjoy using it to see just how few people actually read these posts.
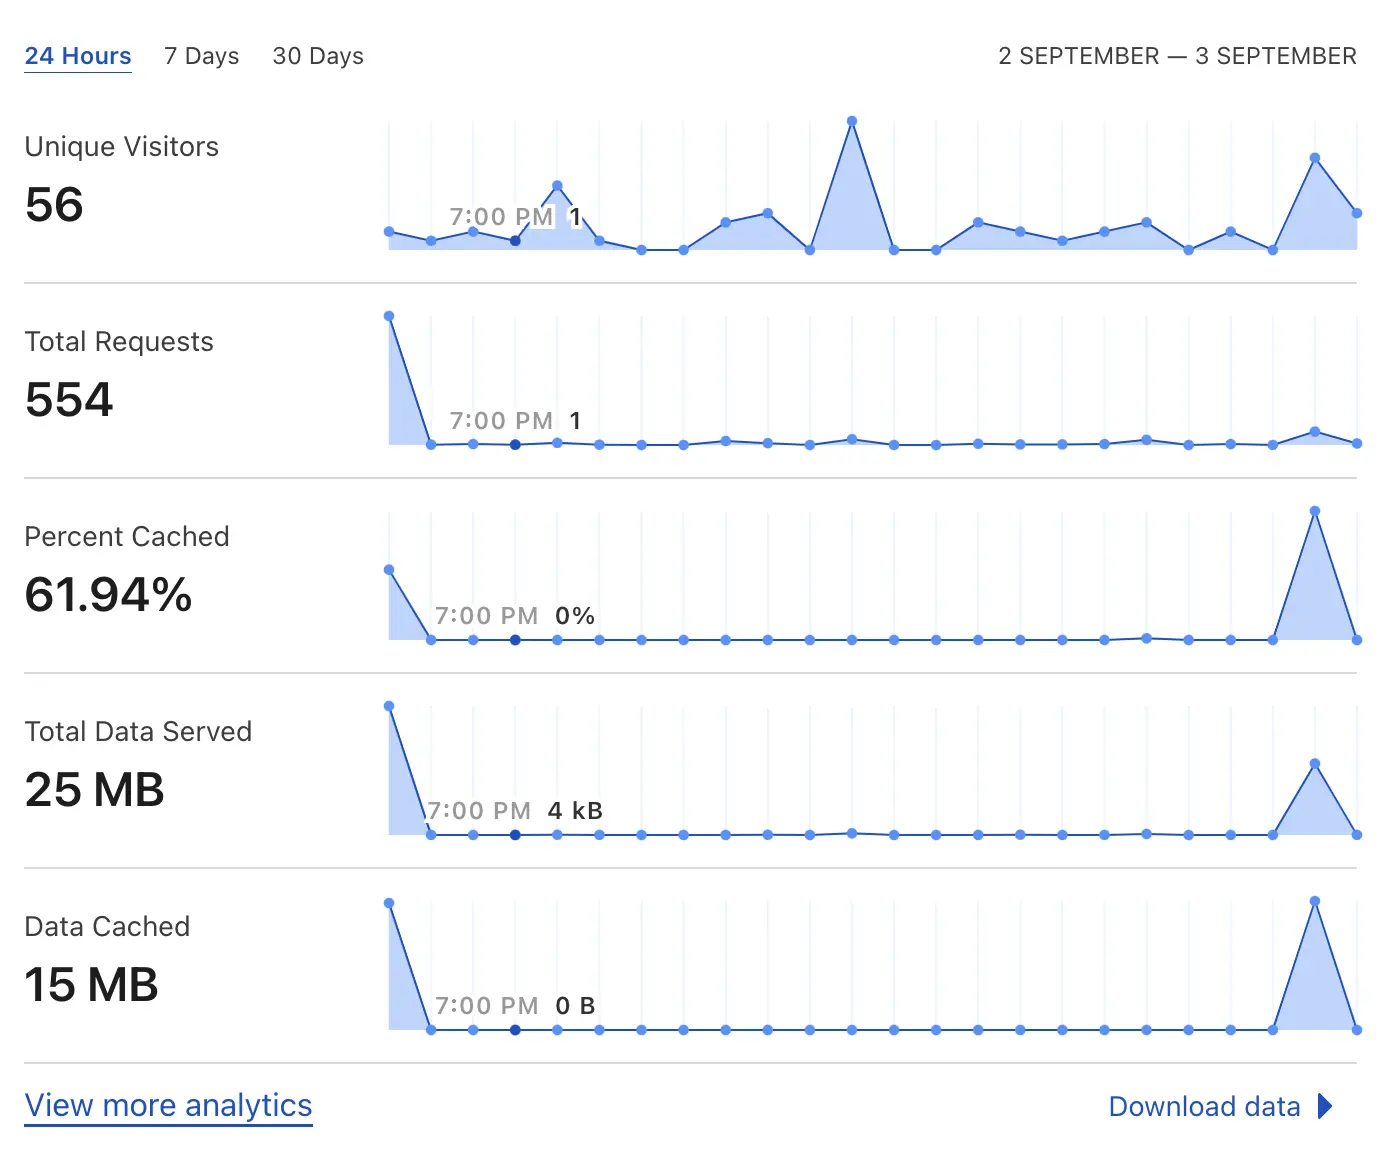 sad_pikachu.jpeg
The Rest of the Owl

Once the cluster is bootstrapped, plugins are enabled, and you are able to connect, I have a terraform module in my homelab_cluster repository that does "the rest." Namely:
- setup a SSL certificate issuer with Lets Encrypt for automagical HTTPS
- annotate your Nginx ingress so that it makes metrics data available to prometheus
- adding ingress rules for kibana and grafana so that you can view your logging and metrics dashboards
Note that you should change the email in manifests/clusterissuer.yml to your
own email so that Lets Encrypt can reach you in case of any certificate issues.
You should also change the ingress domains to domains you own!
Backup and Restore with Velero and Restic
Velero and restic are a pair of technologies that allow you to backup the state of your cluster and the content of persistent volumes, respectively. Restic is integrated into Velero to provide a pretty simple and seamless experience. You will need to create an S3 bucket (or similar) to store the backup content off-site. Velero's documentation is great, and I also documented my process for setting this up in the README of my homelab_cluster repository.
Wrap-Up and Next Steps
You did it! You now have an application platform built on top of your own hardware. The failure of a single node shouldn't cause data loss, but you have automated off-site backups just in case. You can use your infrastructure from anywhere in the world, easily ship apps to your cluster, automatically provision replicated storage or SSL certificates, and much more.
All of my sites are open source and also deployed to my cluster, so check them out for examples of how you can use the cluster to host websites. The possibilities are really endless.
| Site | GitHub Repo |
| Song Maker Gallery | jdevries3133/song_maker_gallery |
| Fast Grader for Google Classroom | jdevries3133/fast_grader |
| This website | jdevries3133/jackdevries.com |